Problem
You need to generate a CSR and install 3rd party certificate on Exchange 2010
Solution
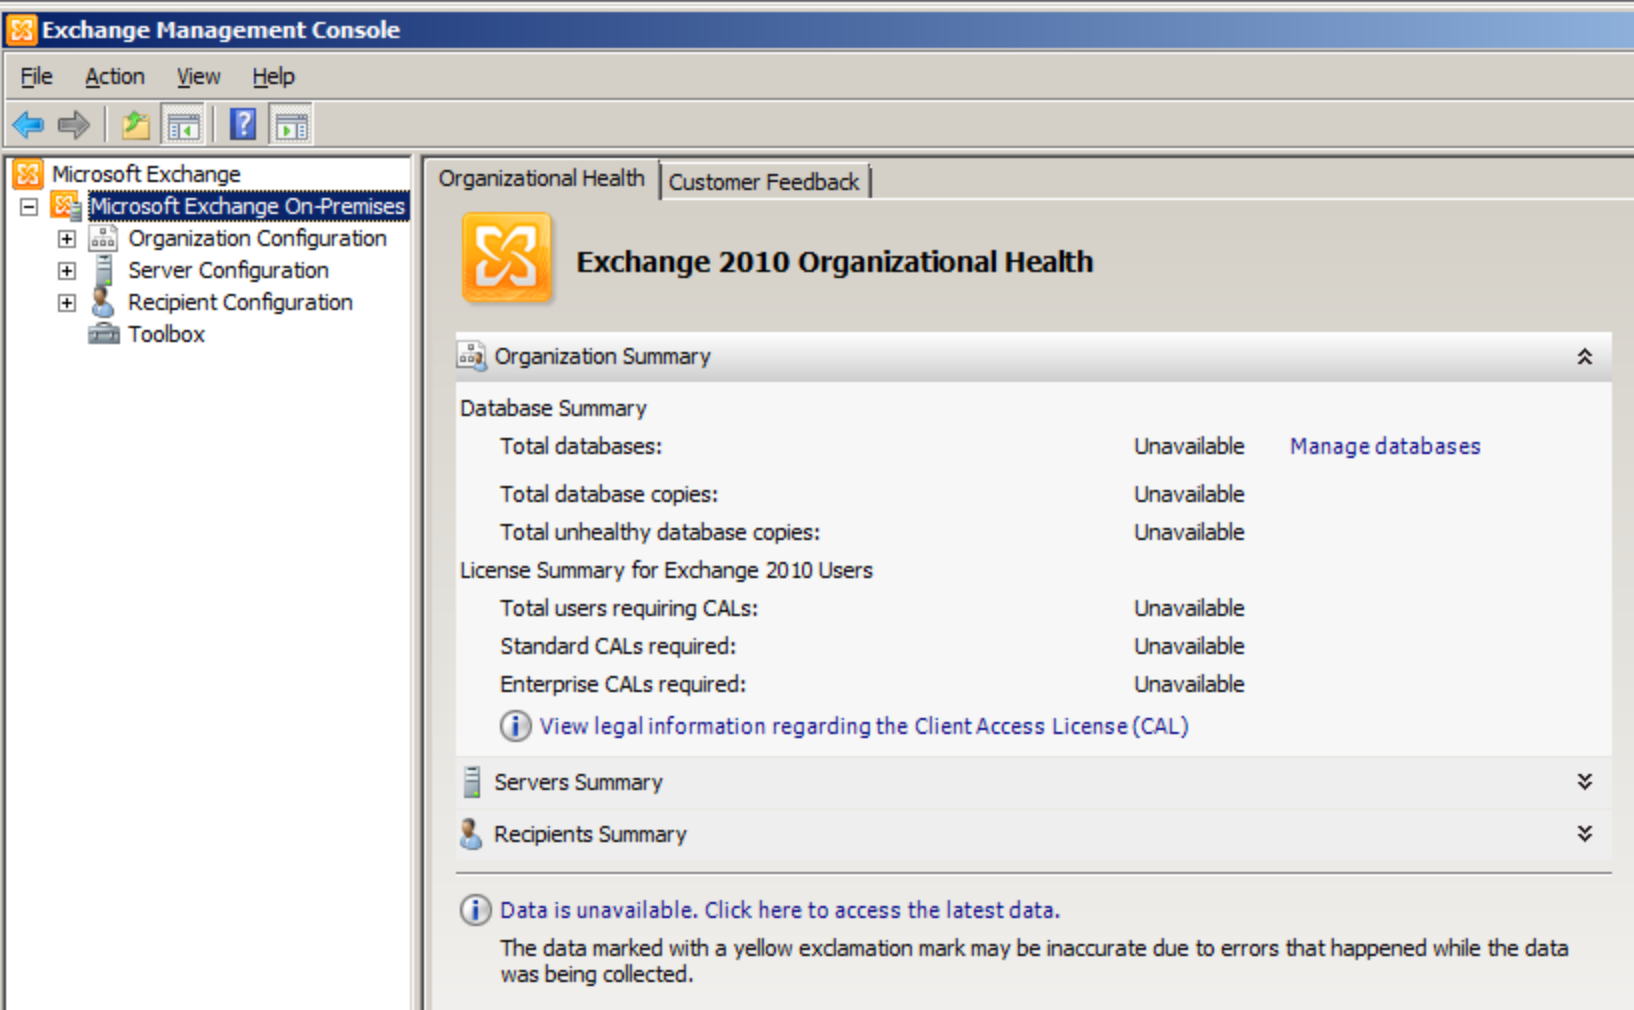
Start the Exchange Management Console by going to Start > Programs > Microsoft Exchange 2010 > Exchange Management Console.
Click the link to “Manage Databases.”
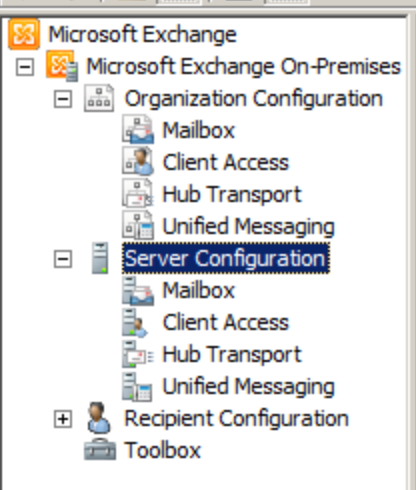
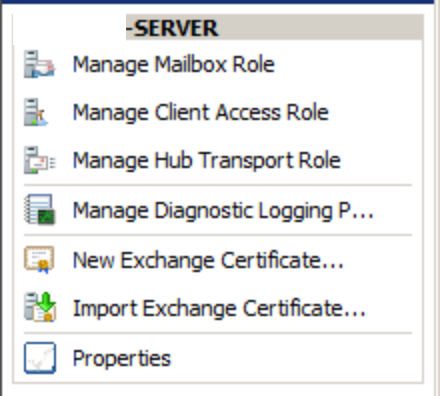
Select “Server Configuration” in the menu on the left, and then “New Exchange Certificate” from the actions menu on the right.
When prompted for a friendly name, enter a name by which you will remember this certificate in the future.
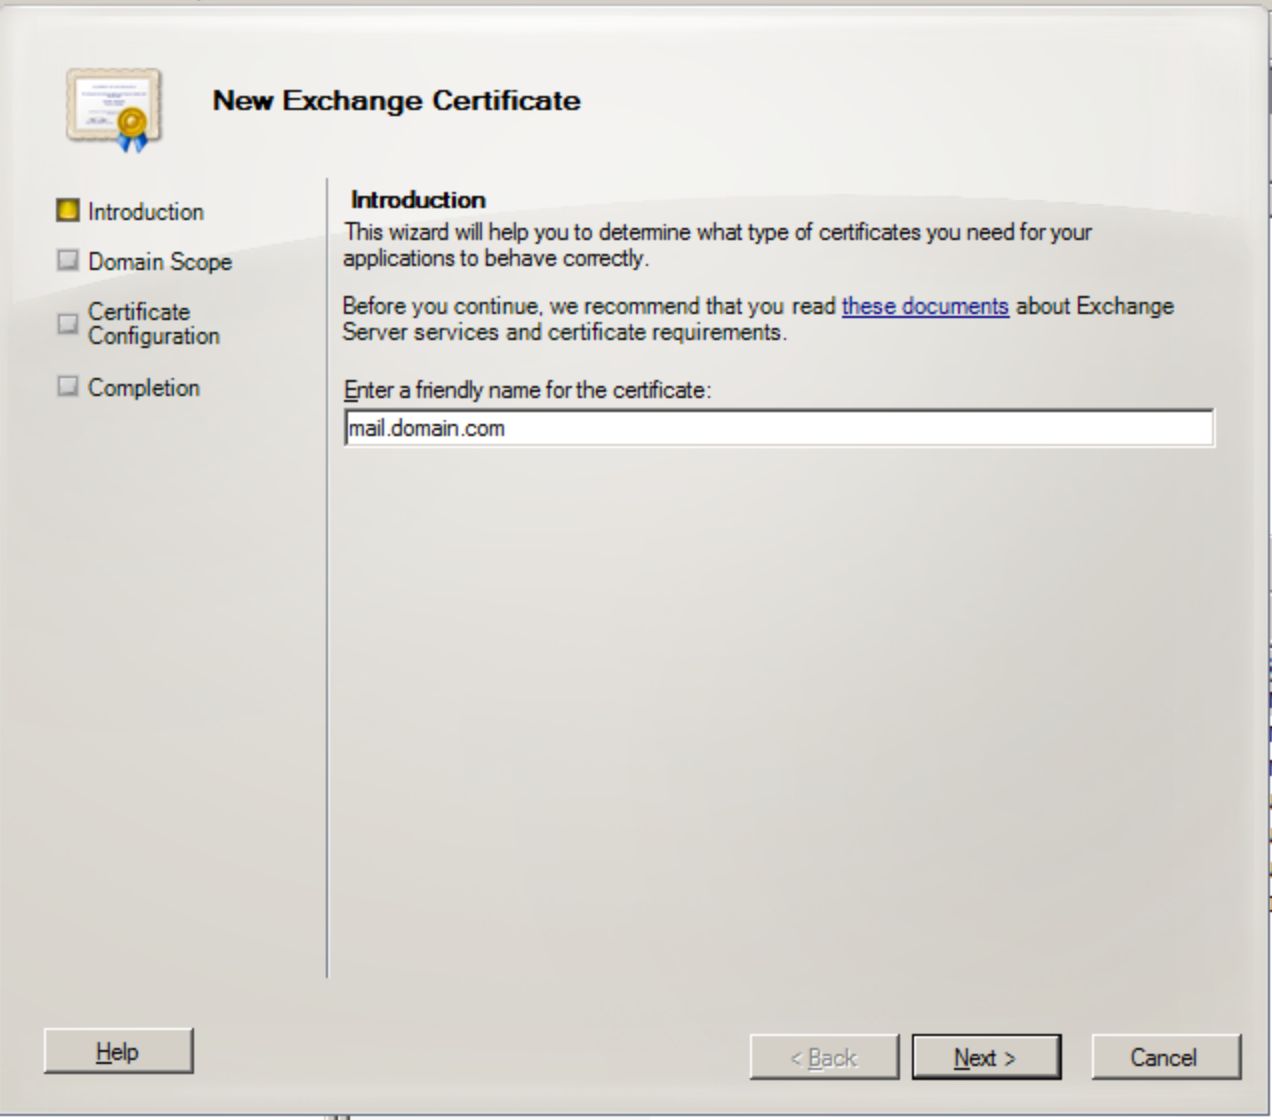
This name is not an integral part of your certificate request.
Under Domain Scope, you can check the box if you will be generating the CSR for a wildcard. Otherwise, just go to the next screen.
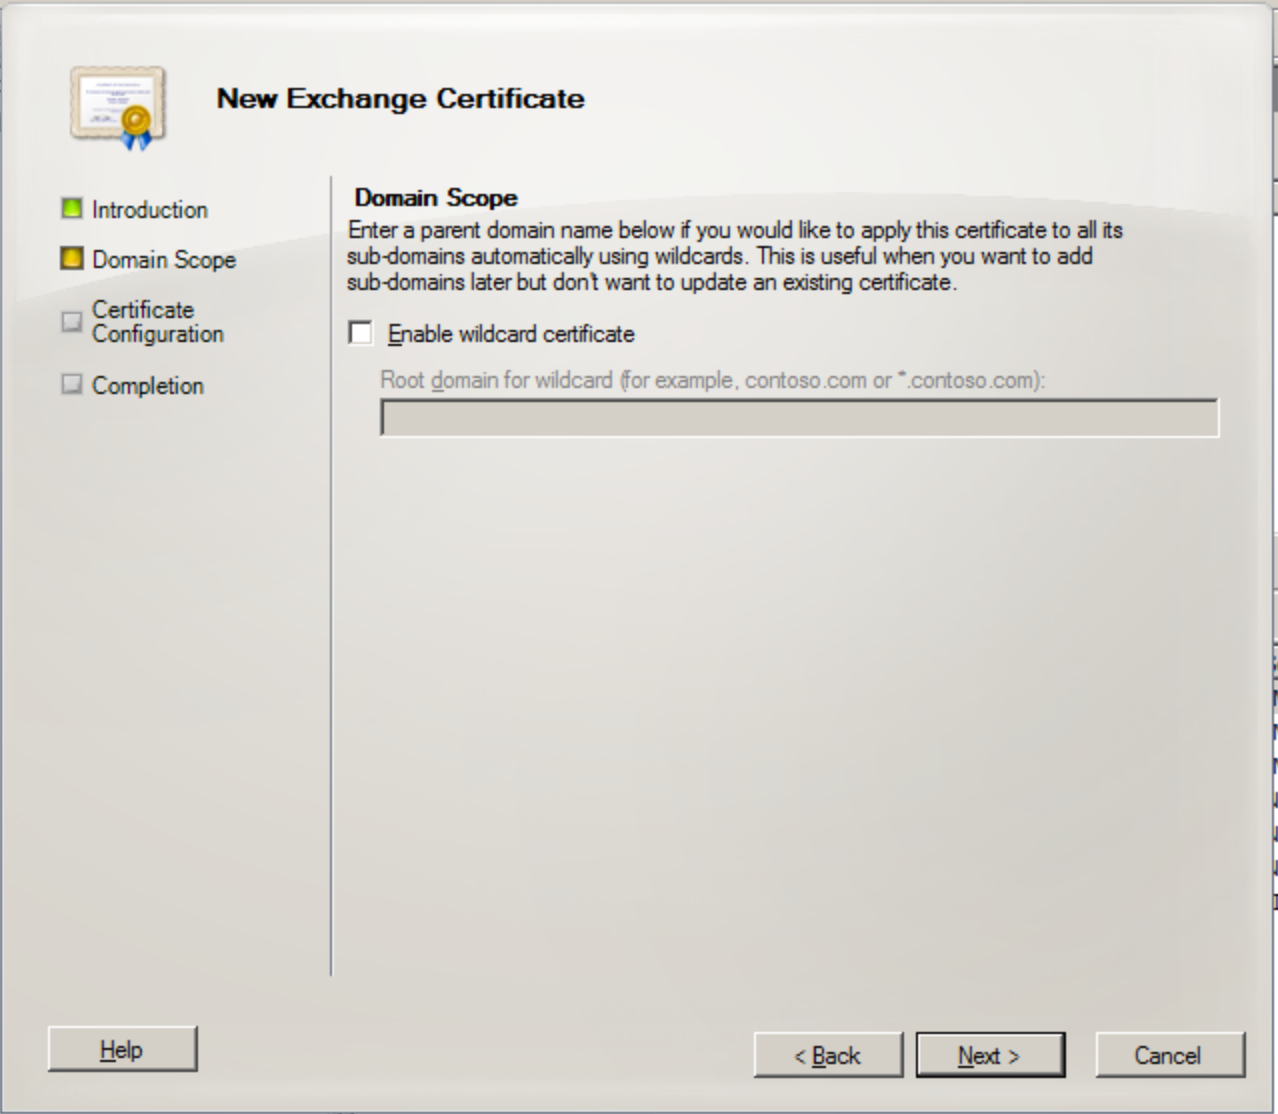
If you do select that box for a wildcard, skip to entering Organization information.
In the Exchange Configuration menu, select the services which you plan on running securely, and enter the names through which you connect to those services, as prompted.
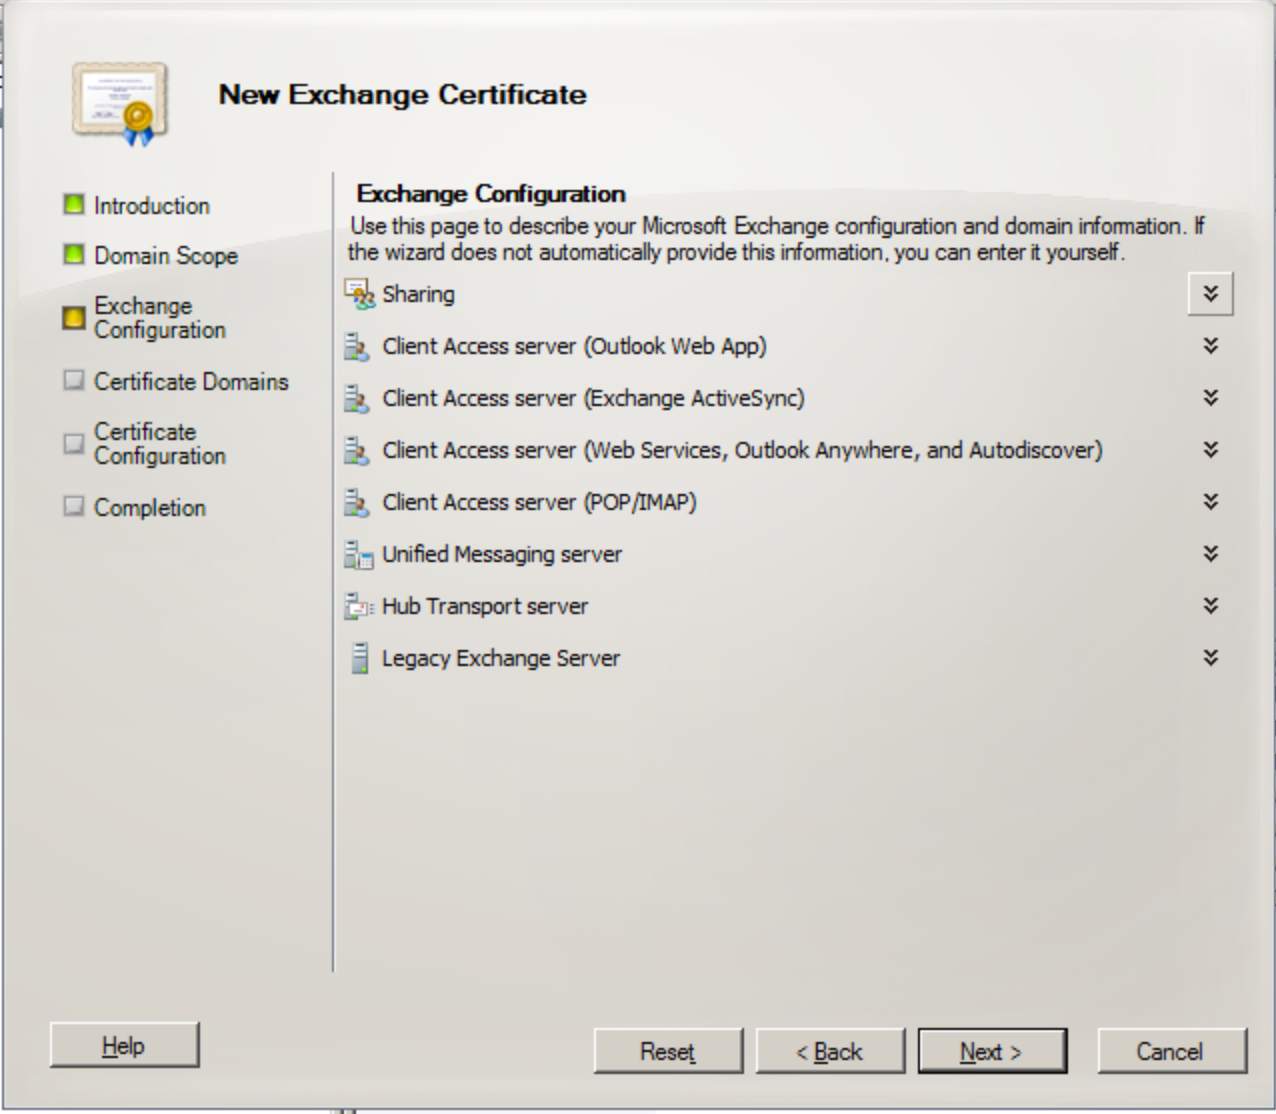
At the next screen, you will be able to review a list of the names which Exchange 2010 suggests you include in your certificate request.

Your Organization should be the full legal name of your company.
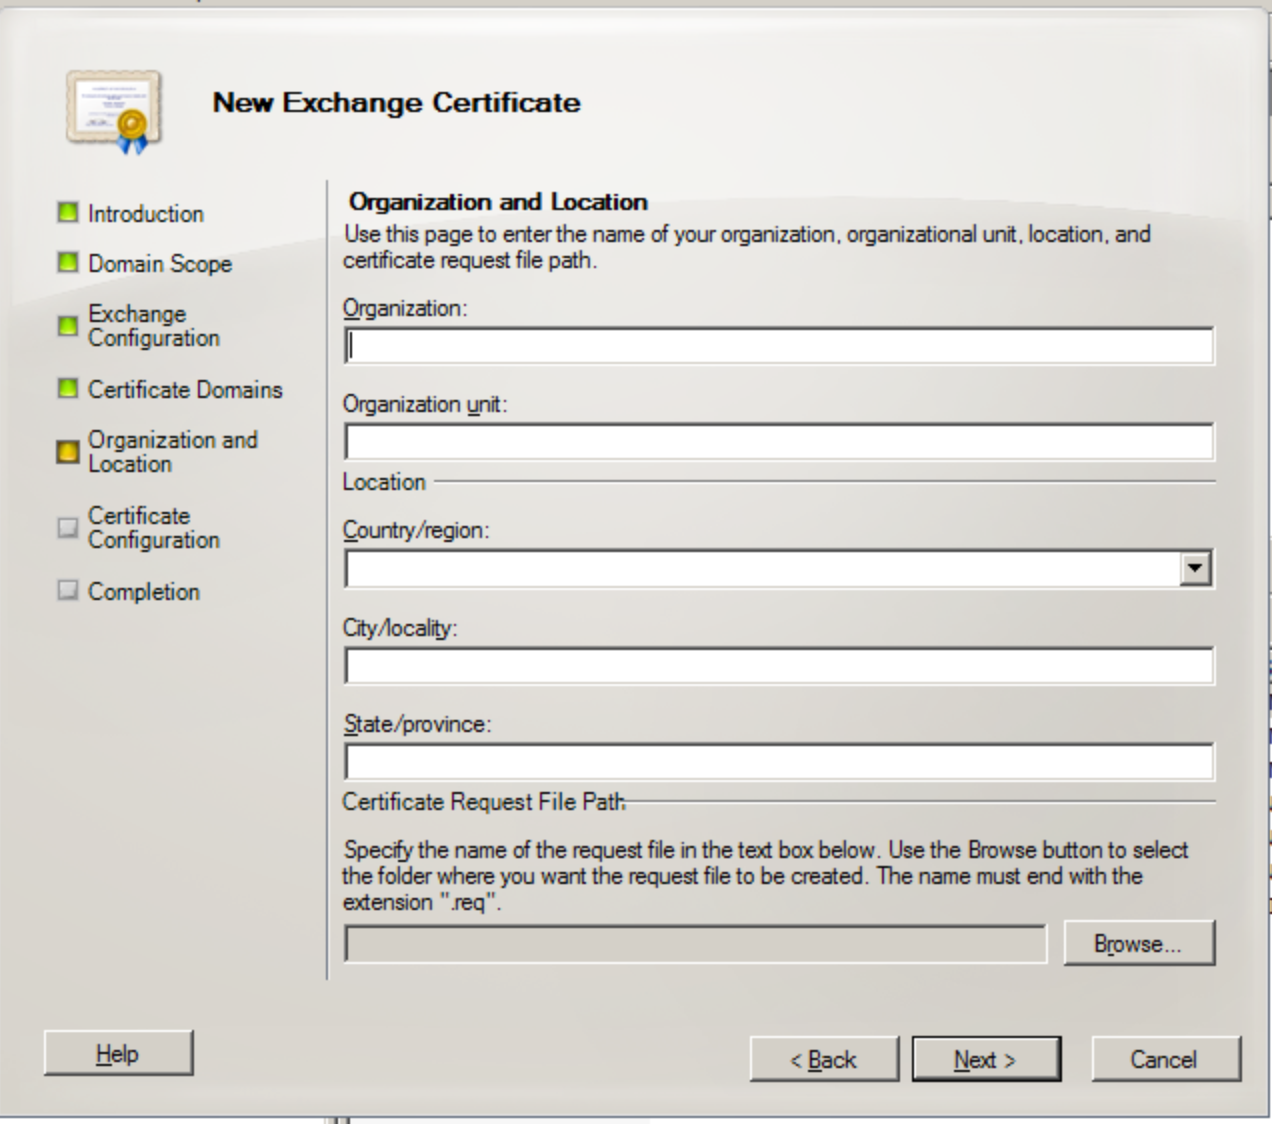
Your Organization unit is your department within the organization.
If you do not have a state/province, enter the city information again.
Click “Browse” to save the CSR to your computer as a .req file, then Save, then Next.

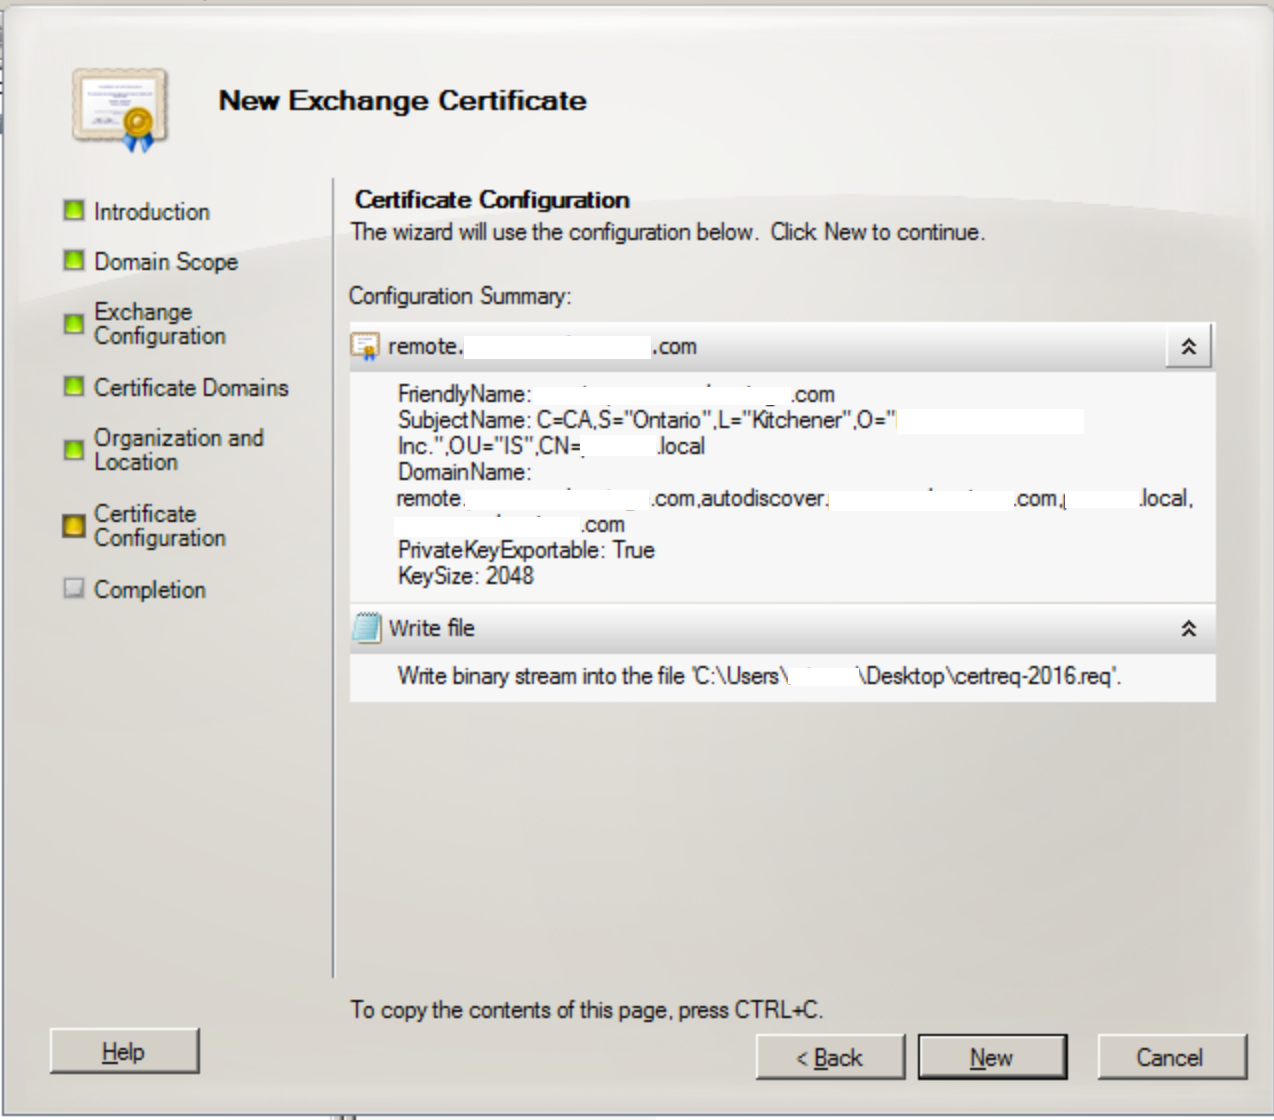
Click New, and then Finish
Review the CSR using notepad. Copy the body of this file into your 3rdparty certificate site and enter your domain you are generating the certificate for e.g. mail.mycompany.com
Once you have completed the online process download your certificate bundle.
If there is an intermediate certificate right click and select the install certificate option and let the wizard place it automatically.
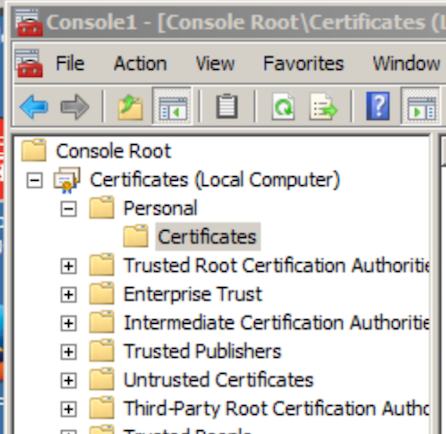
Use the MMC command to launch a management window, add certificates and proceed as follows (instructions for the mmc here)
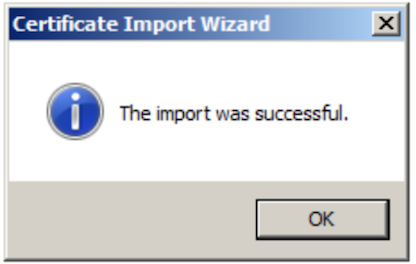
Right click the personal => certificates window and choose the option to import the SSL certificate.
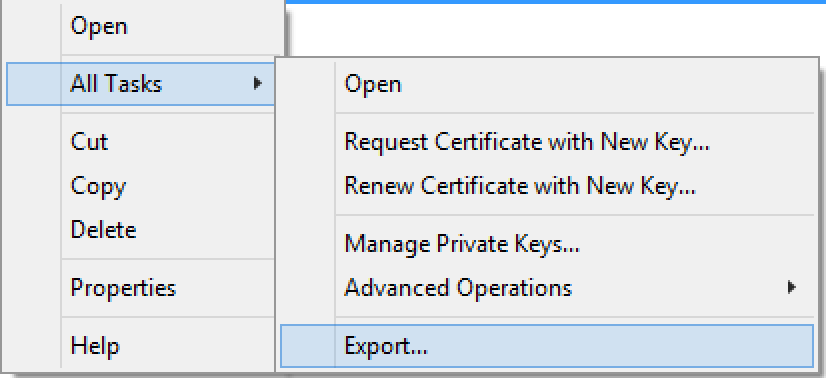
Once the wizard is complete, right click the certificate and select the option to export.
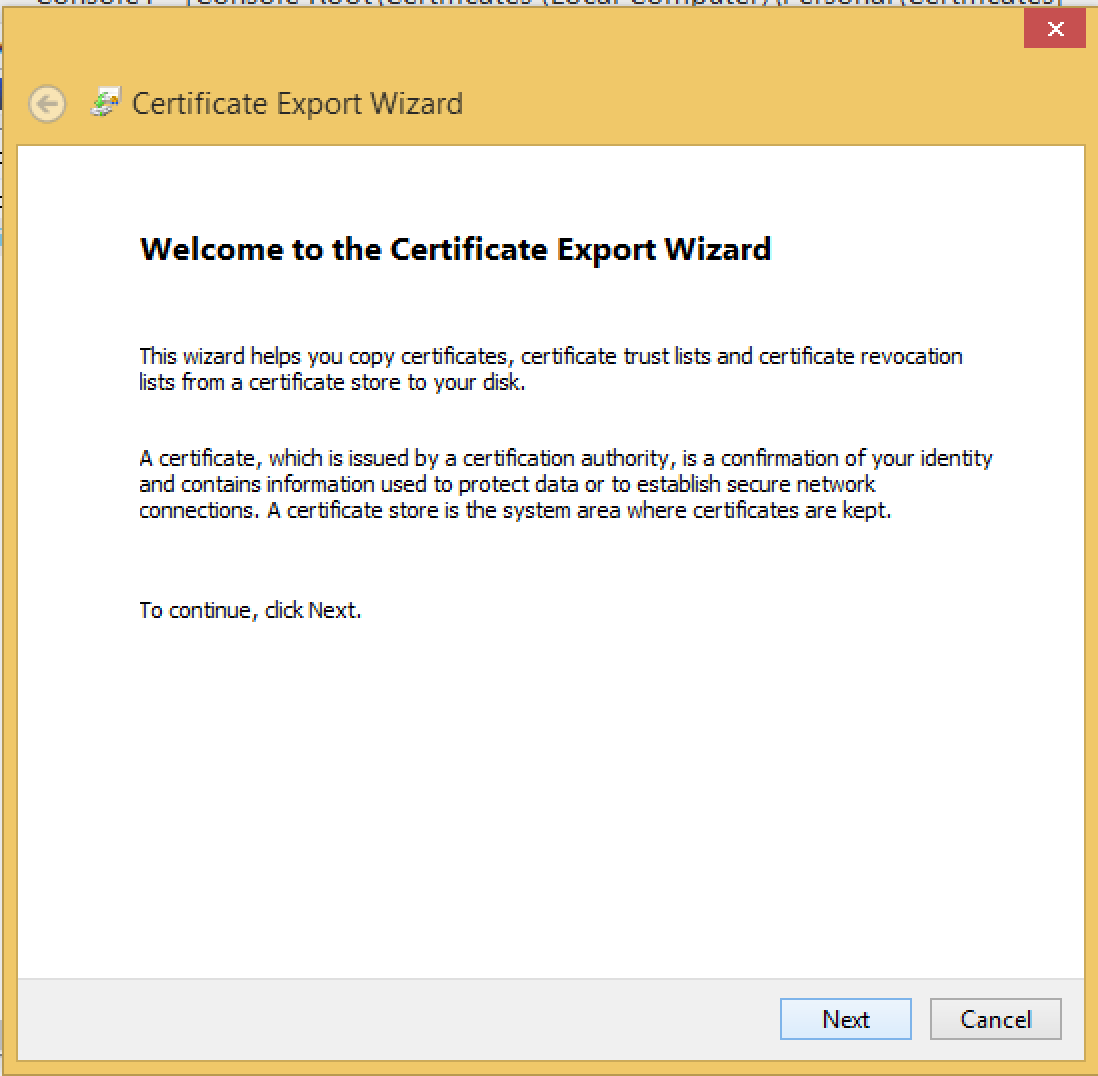
Follow the wizard choosing Next
Click yes to export the private key
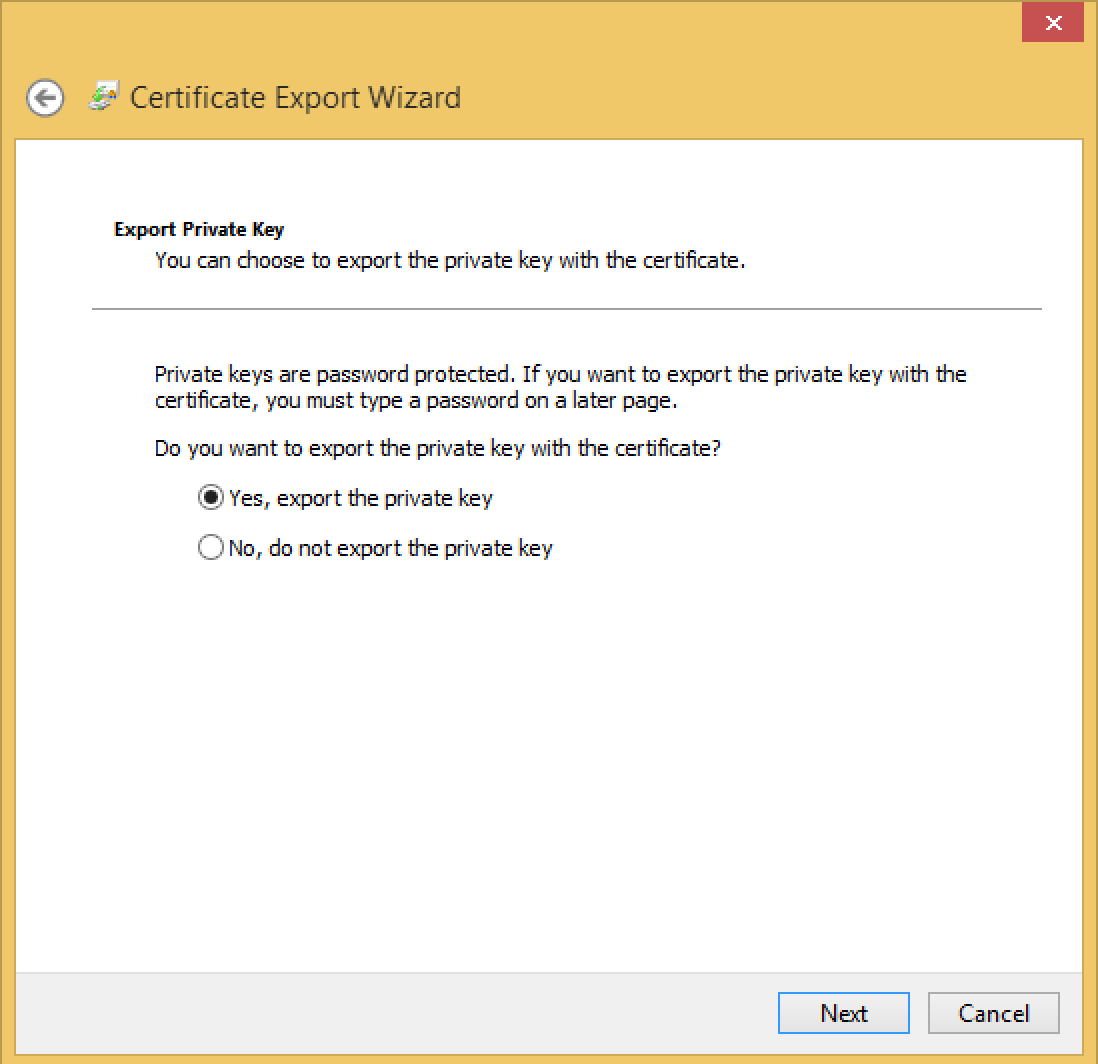
Verify that PFX is selected

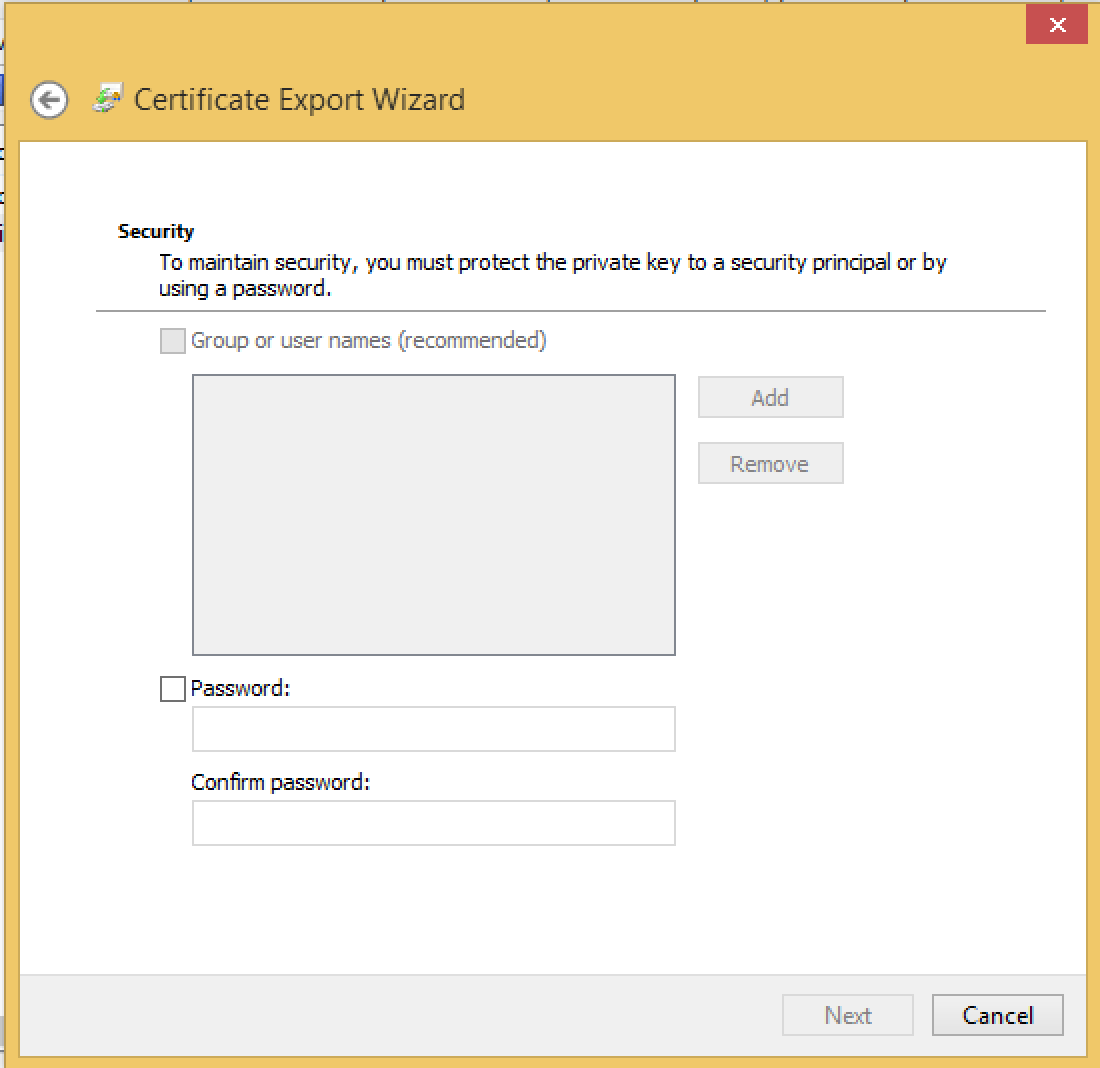
Click next and enter a password, then next
Select the location you want to export the certificate to
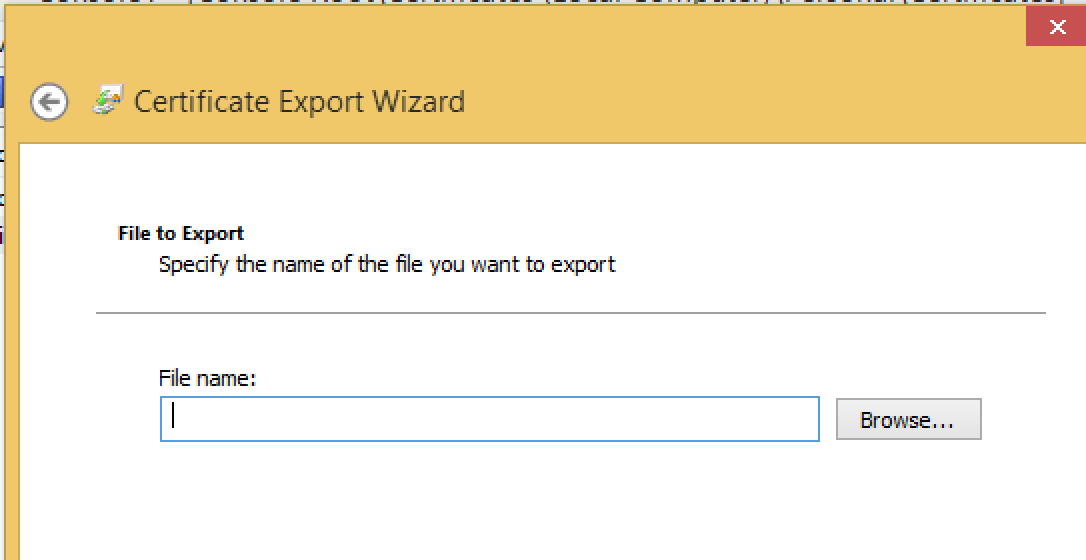
Click finish. Check the location for your .pfx file.
Continue with Importing SSL Certificate
Tested Platform
Windows 2008 R2 Server
Hits: 215
One comment